使用 Wall 教你搭建 照片墙 和 视频墙
创始人
2024-05-30 13:24:31
下载
Github:https://github.com/super-tongyao/wall
国内仓库(不推荐,只做加速访问,无编译包和发行版,以github仓库为准):https://gitee.com/Super_TongYao/wall
推荐github仓库,下载最新版就行。
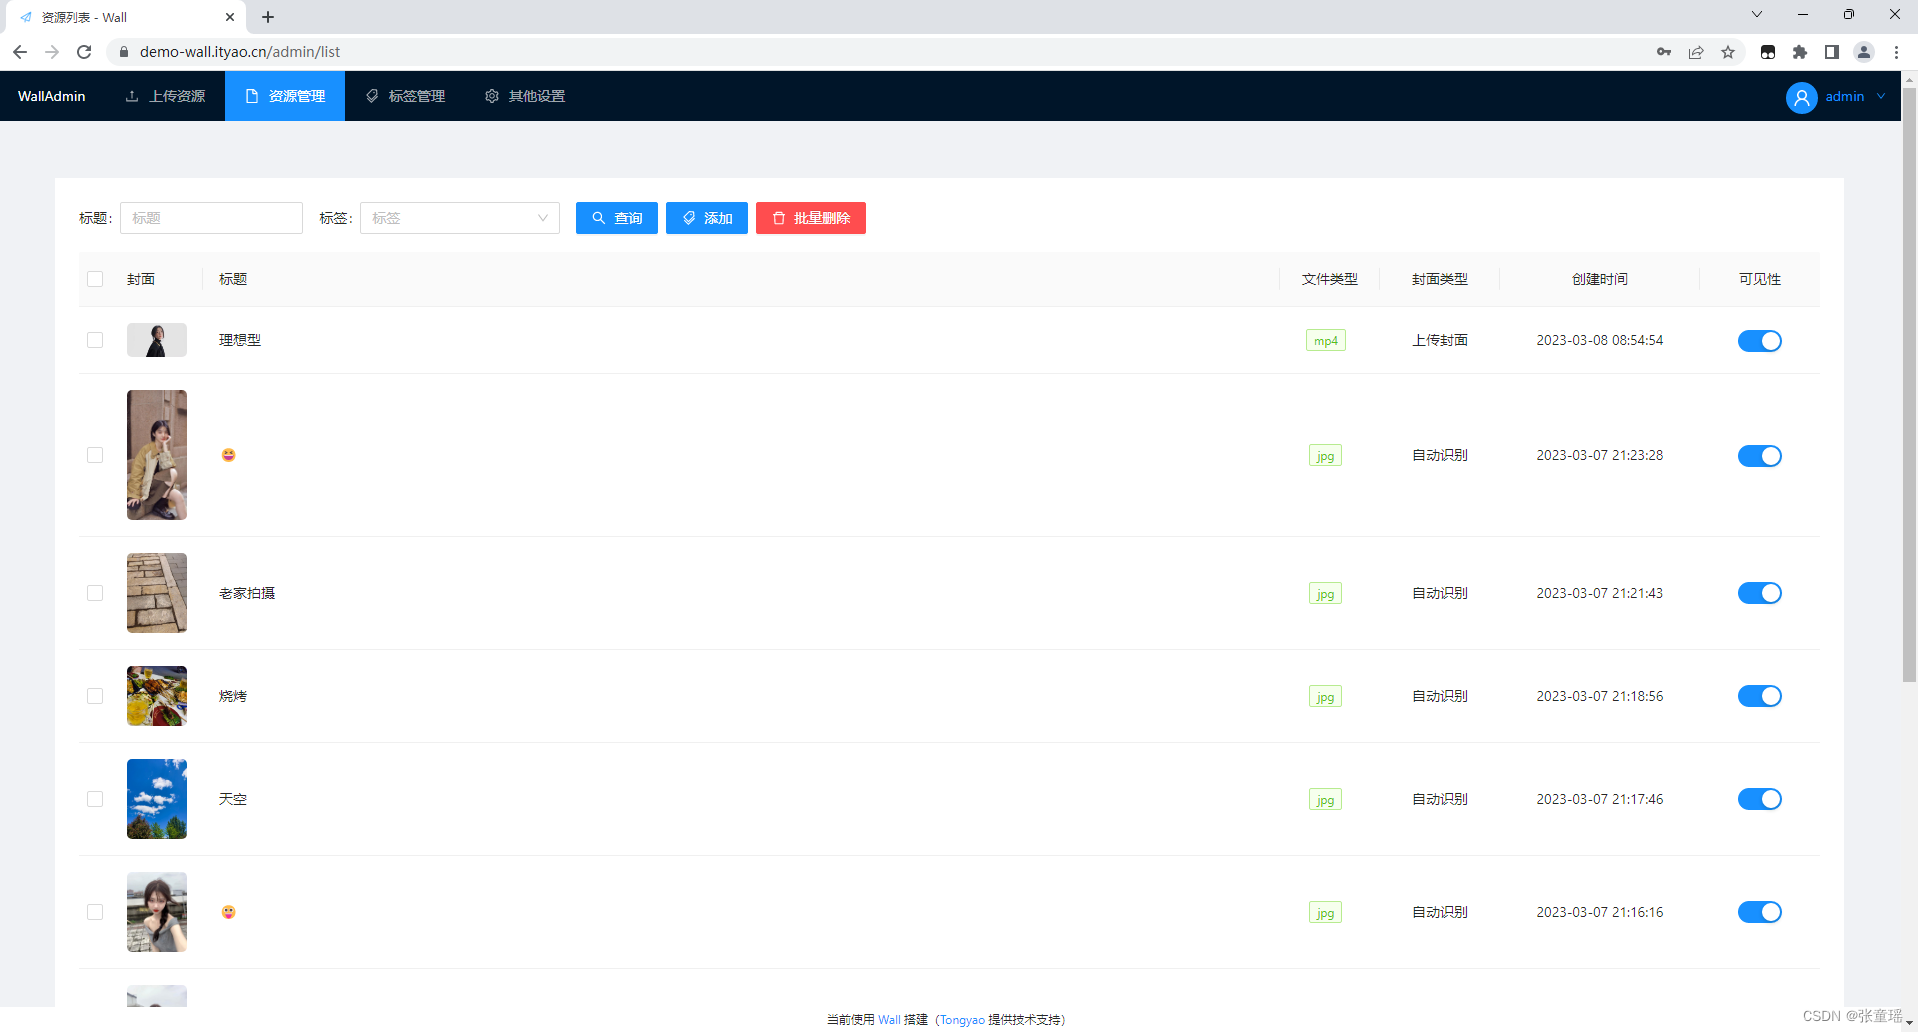
效果
目前支持PC端和移动端自适应。
演示地址:https://demo-wall.ityao.cn
后台管理:https://demo-wall.ityao.cn/login,账号密码:admin/123456


安装
前提下你有一台云服务器,如果没有云服务器,那么本地系统搭建也可以,只不过只能实现内外访问。
这里用的是Wall,它是国内的一款开源程序,轻量、跨平台性高,源代码是用的Vue+SpringBoot开发的,有兴趣的可以去看一下代码。
下载完解压缩包,里面有两个文件夹:

wall文件夹:是编译好的前端页面。
wall-service-1.0.0:是编译好的后端jar程序。
wall.sql:是后端数据库。
所以wall是前后端分离程序,而官方推荐的是用nginx搭建。
1、把wall文件夹放入nginx/html下,并编辑config/nginx.conf配置文件,新增如下配置。最后重启nginx不报错,前端部署完成。
server {listen       80;server_name  你的网站域名或公网IP;underscores_in_headers on;location / {# 映射你nginx/html目录下的wall文件夹root html/wall;try_files $uri $uri/ /index.html;}# 后端服务地址location /api{rewrite  ^/api/(.*)$ /$1 break;proxy_set_header Host $host;proxy_set_header X-Real-IP $remote_addr;proxy_set_header X-Forwarded-For $proxy_add_x_forwarded_for;# 转发你Wall的后台地址proxy_pass   http://localhost:9999;}error_page   500 502 503 504  /50x.html;location = /50x.html {root   html;}
}
2、导入wall.sql文件到MySQL数据库。
mysql> source wall.sql
3、修改后端服务config/application.yml配置文件,并修改你本地的MySQL数据库连接端口及账号密码。
# project prot
server:port: 9999# database config
mysql:database: wallport: 3306ip: 127.0.0.1username: rootpassword: root
4、后端支持两中环境下快捷启动,自带JDK,无需安装,直接启动。
- Windows下双击startup.bat文件启动。
- Linux下执行startup.sh文件启动,请先获取执行权限。
5、浏览器访问http://localhost:80,后台管理:http://localhost:80/login,正常访问登录即可完成搭建。
相关内容
热门资讯
力源科技签署5498万元核电设...
2月9日,力源科技(维权)(688565)发布公告,公司作为卖方与上海核工程研究设计院股份有限公司签...
读书周刊|去世五年后琼·狄迪恩...
转自:扬子晚报在2026年的开年,一本名为《奇想之年》的书引爆了大众泪点,热度和销量已在各图书类榜单...
三元生物获高新技术企业证书 享...
2月9日,三元生物(301206)发布公告,公司近日收到《高新技术企业证书》,将使公司在2025年度...
南玻A:截至2026年1月30...
投资者提问:董秘你好,请问截止到2026年1月30日,贵公司股东户数是多少?谢谢啦!!!董秘回答(南...
湖南省电力有限公司原一级协理胡...
稿源:掌上长沙2026-02-09 16:03 长沙晚报掌...
